A Comprehensive Guide to Wildlife Photography: Techniques, Equipment, and Tips
- Jun 3, 2025
- 9 min read
Updated: Jun 4, 2025
Wildlife photography is a thrilling and rewarding pursuit that captures the essence of animals in their natural environments. It combines technical skill, patience, and a deep respect for nature. This guide provides a detailed roadmap for beginners and enthusiasts, covering planning, equipment, camera settings, composition, lighting, and post-processing, with a focus on the technical details and lens recommendations to help you create stunning wildlife images.
Planning Your Wildlife Photography Trip
Successful wildlife photography starts with thorough preparation. Here’s how to plan effectively:
Research Locations and Timing: Choose destinations known for their wildlife, such as national parks or reserves, and visit during seasons when animals are most active. For example, spring is ideal for bird migrations, while autumn may be best for mating displays. Check weather conditions and have a backup plan in case of unexpected changes. Resources like local wildlife trusts or online forums can provide valuable insights.
Understand Animal Behavior: Knowing your subject’s habits, such as feeding times or movement patterns, can help you be in the right place at the right time. Watch documentaries, read field guides, or consult local experts like trackers or birders to gain knowledge.
Prepare for the Environment: Depending on your location, you may need gear like rain covers, warm clothing, or safety equipment (e.g., bear alarms in polar regions). Always prioritize safety for yourself and the animals.
Be Patient and Flexible: Wildlife is unpredictable. You may need to wait hours for a single shot or adapt to changing conditions. Keep a record of sightings to identify patterns and improve your chances of success.
Essential Equipment
The right gear is critical for capturing high-quality wildlife photos. Here’s a breakdown of what you’ll need:
Cameras
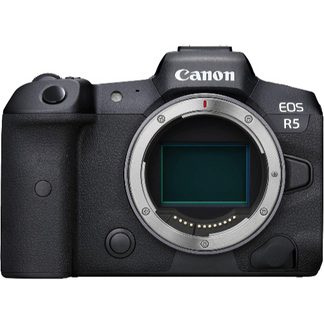
A DSLR or mirrorless camera with fast autofocus and good low-light performance is recommended. Popular models include the Canon EOS R5, Nikon Z9, and Sony A1, which offer excellent autofocus and high ISO capabilities for early morning or late afternoon shoots.
Lenses
Lenses are arguably the most important investment for wildlife photography. Here are the main types and recommendations:
Lens Type | Focal Length | Details | Examples |
Super-Telephoto Zoom | 100-400mm, 200-600mm | Versatile for beginners, offering flexibility to frame distant subjects. | Canon EF 100-400mm f/4.5-5.6L IS II USM, Nikon AF-S 200-500mm f/5.6E ED VR, Sony FE 200-600mm f/5.6-6.3 G OSS, Tamron 150-600mm G2, Sigma 150-600mm Contemporary. |
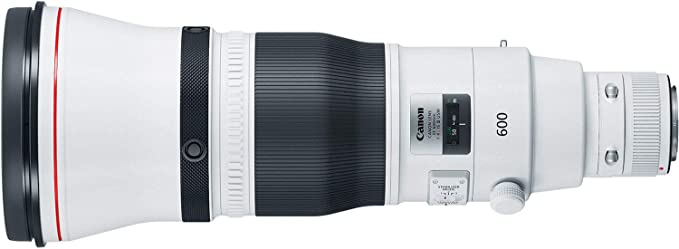
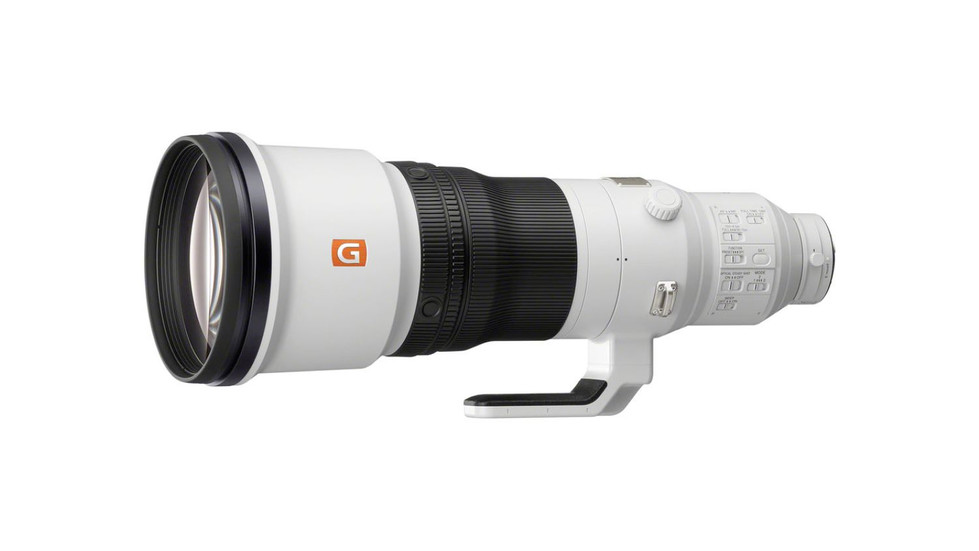
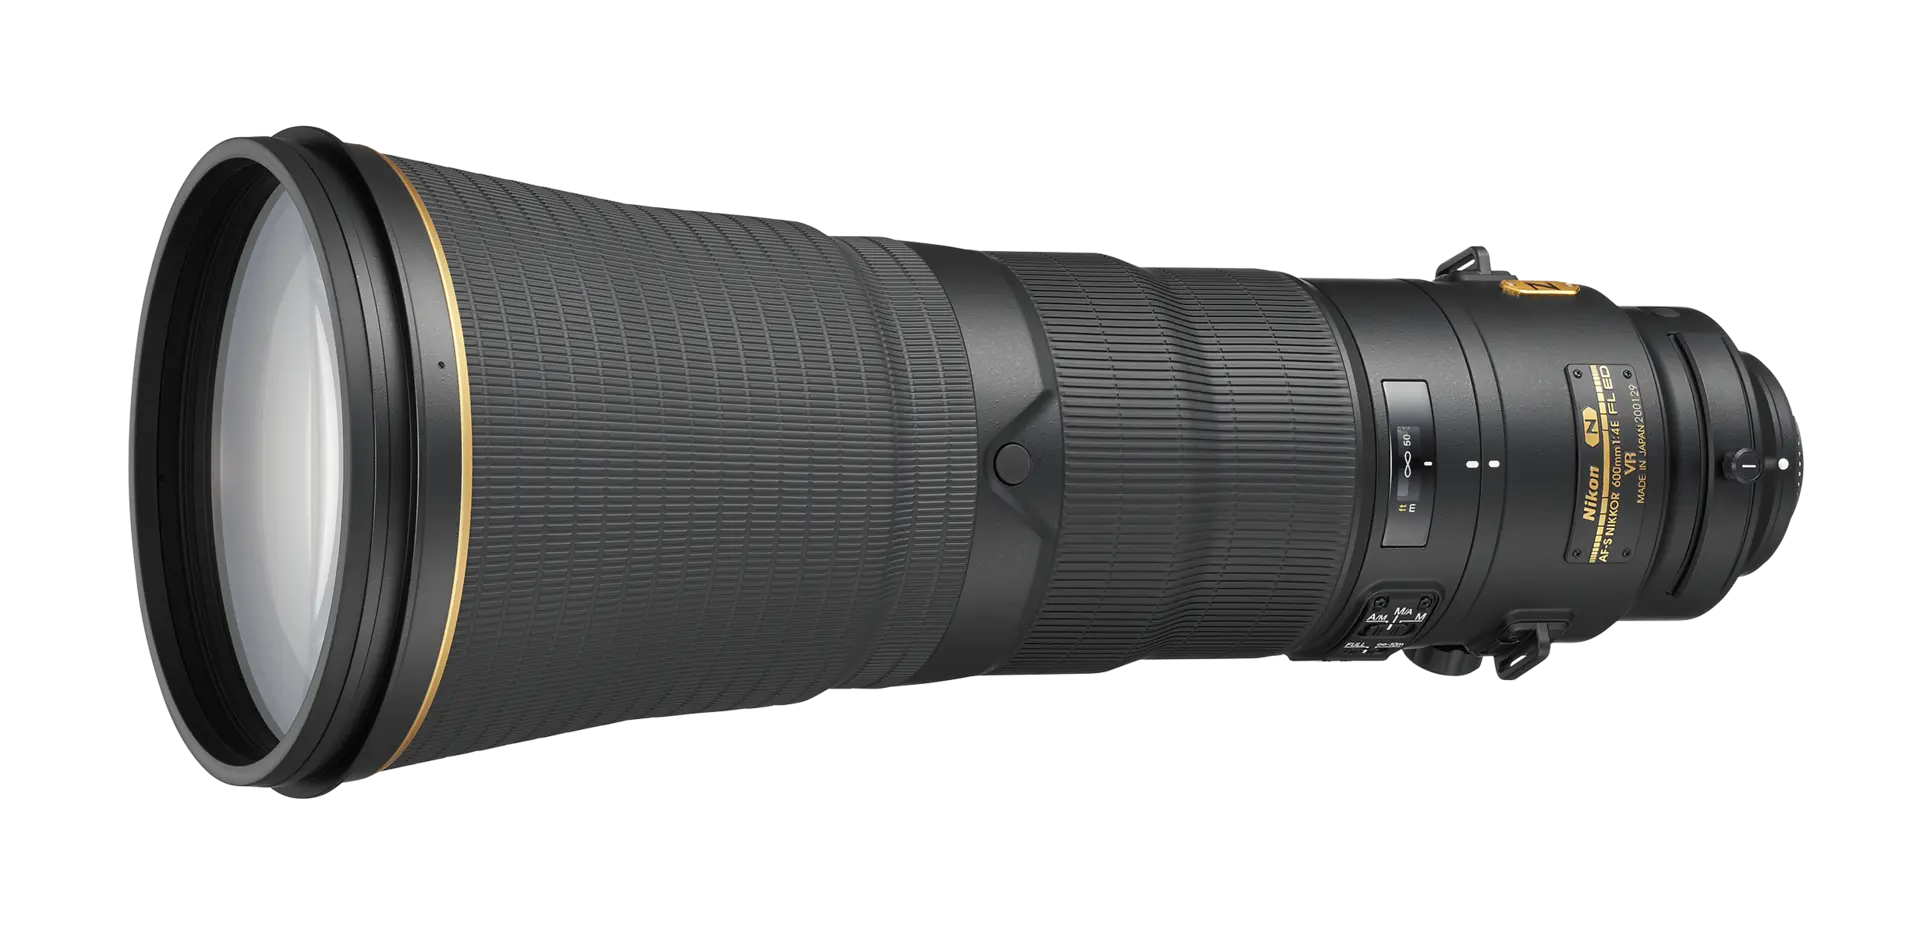
Super-Telephoto Prime | 400mm, 600mm | Offers superior sharpness and wider apertures (e.g., f/2.8, f/4) for pros. | Canon EF 600mm f/4L IS III USM, Nikon AF-S NIKKOR 600mm f/4E FL ED VR, Sony FE 600mm f/4 GM OSS. |
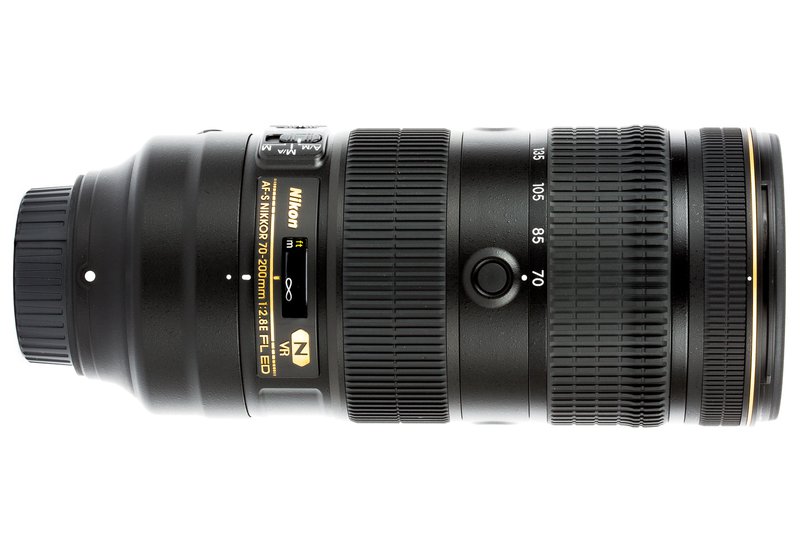
Short-Telephoto | 70-200mm | Useful for larger animals or contextual shots. | Canon EF 70-200mm f/2.8L IS III USM, Nikon AF-S 70-200mm f/2.8E FL ED VR. |
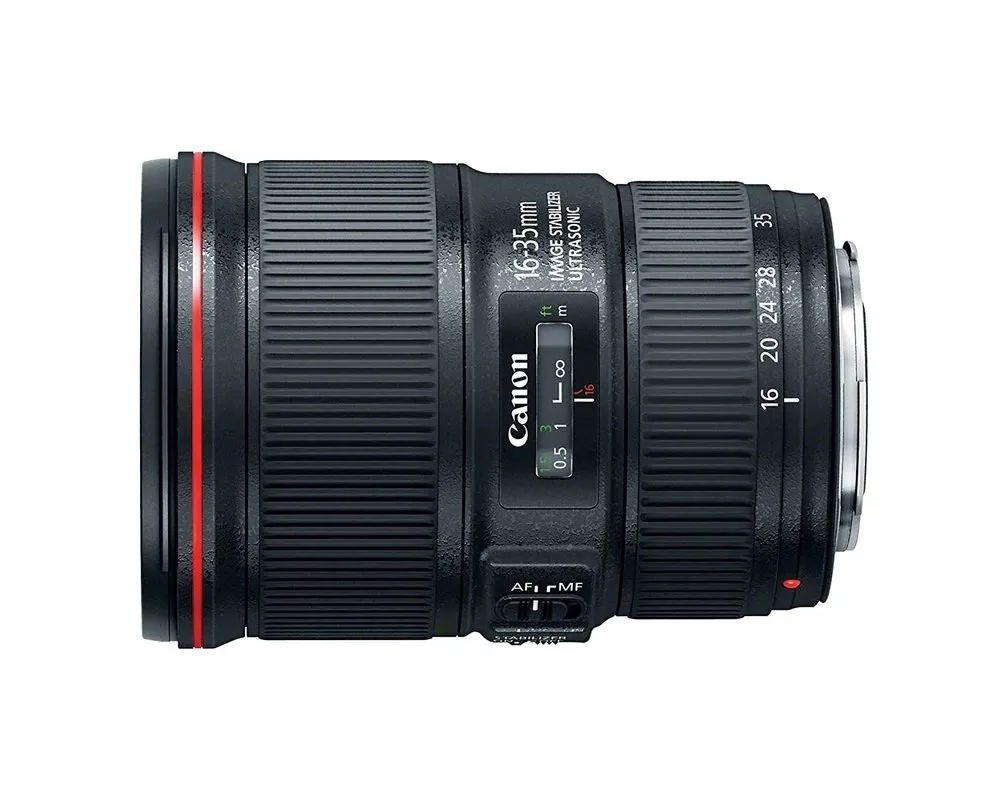
Wide-Angle | 16-35mm, 24-70mm | Captures animals in their environment, adding context. | Sony FE 24-70mm f/2.8 GM, Canon EF 16-35mm f/4L IS USM. |
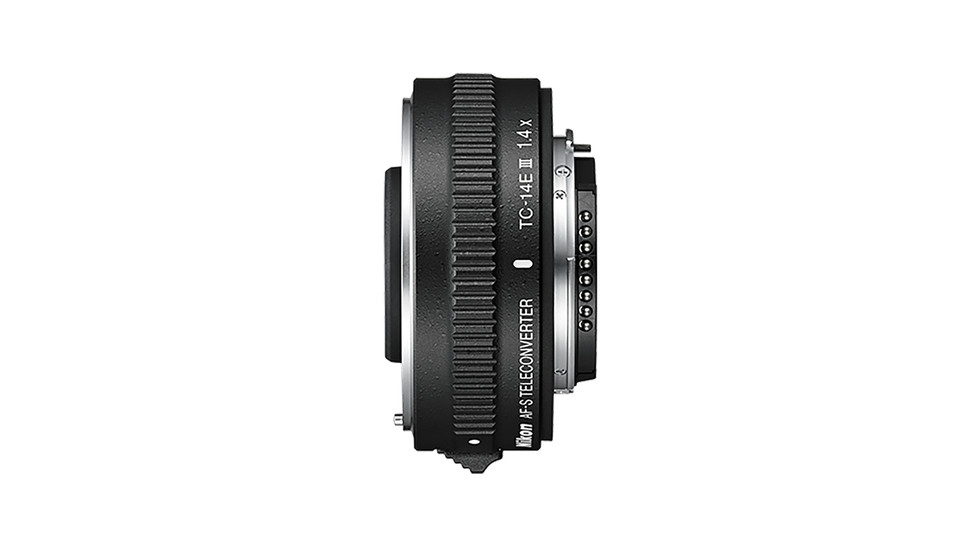
Teleconverter | 1.4x, 2x | Extends focal length (e.g., 300mm to 600mm with 2x), but may reduce light and sharpness. | Canon Extender EF 1.4x III, Nikon TC-14E III. |
Considerations: Zoom lenses offer flexibility, especially from fixed positions like vehicles, while prime lenses provide unmatched clarity but are less versatile and more expensive. Budget-conscious photographers can opt for third-party lenses like Tamron or Sigma. Teleconverters are useful but may compromise image quality, so a 1.4x is often preferred over a 2x.
Other Accessories
Tripod: A sturdy tripod stabilizes heavy telephoto lenses, especially for long exposures.
Accessories: Carry extra batteries, memory cards, lens cleaners, and protective gear like rain covers to handle unpredictable conditions.
Understanding the Basics of Photography for Wildlife
Before diving into specific camera settings for wildlife, it’s helpful to understand the core photography concepts: camera mode, aperture, shutter speed, and ISO. These basics form the foundation of every great wildlife photo, allowing you to control light, motion, and focus. Here’s a beginner-friendly guide to get you started.
To capture stunning wildlife photos, you need to master the core elements of photography: camera mode, aperture, shutter speed, and ISO. These settings work together to control how much light enters your camera and how your images look. Here’s a beginner-friendly guide to each, with tips on how to apply them in wildlife photography.
Camera Mode
Camera mode determines how much control you have over settings like aperture, shutter speed, and ISO. Most cameras offer several modes, but for wildlife photography, you’ll typically use semi-automatic or manual modes to balance control and speed.
Key Modes for Wildlife Photography:

Aperture Priority (A or Av): You set the aperture, and the camera adjusts the shutter speed for proper exposure. This is great for controlling depth of field (e.g., blurring the background to highlight an animal). Use this when light conditions change quickly, like during a cloudy day in the forest.

Shutter Priority (S or Tv): You set the shutter speed, and the camera adjusts the aperture. This is ideal for fast-moving animals, like a cheetah running, where you need a specific shutter speed to freeze motion.

Manual (M): You control both aperture and shutter speed. This offers maximum control but requires experience, so use it in consistent lighting, like during golden hour in a savanna.

Program (P): The camera sets both aperture and shutter speed, but you can tweak other settings like ISO. It’s less common for wildlife but useful for beginners in unpredictable situations.
Wildlife Tip: Start with Aperture Priority for versatility. If you’re photographing birds in flight, switch to Shutter Priority to ensure a fast shutter speed (e.g., 1/1000s).
Example: When shooting a deer in a meadow, use Aperture Priority with a wide aperture (f/4) to blur the grassy background, making the deer stand out.
Aperture
Aperture is the size of the opening in your lens that lets light into the camera. It’s measured in f-stops (e.g., f/2.8, f/5.6), where a lower number means a larger opening.
How it affects your photos:
Depth of Field: A wide aperture (low f-stop, e.g., f/2.8) creates a shallow depth of field, blurring the background and foreground to isolate the subject. A narrow aperture (high f-stop, e.g., f/11) keeps more of the scene in focus.
Light: A wider aperture lets in more light, which is helpful in low-light conditions like dawn or dusk, common times for wildlife activity.


Wildlife Tip: Use a wide aperture (f/2.8 to f/5.6) for portraits of animals to make them pop against a blurred background. For group shots or landscapes with animals, use a narrower aperture (f/8 to f/11) to keep everything sharp.
Example: To photograph a lion’s face at dusk, set your aperture to f/4 to let in enough light and blur the savanna background, emphasizing the lion’s eyes.
Shutter Speed
Shutter speed is the amount of time your camera’s shutter stays open to let light hit the sensor, measured in seconds or fractions of a second (e.g., 1/250s, 1/2000s).
How it affects your photos:
Motion: A fast shutter speed (e.g., 1/1000s) freezes motion, perfect for fast-moving animals like birds or antelopes. A slow shutter speed (e.g., 1/30s) can blur motion, which might be used creatively for a running herd.
Light: Faster shutter speeds let in less light, requiring brighter conditions or a higher ISO.
Wildlife Tip: Use a fast shutter speed (1/500s or faster) for action shots, like a hawk diving or a gazelle leaping. For static subjects like a grazing elephant, you can use a slower speed (1/250s) if light is limited, but ensure your camera is stabilized (e.g., on a tripod).
Example: To capture a hummingbird’s wings without blur, set your shutter speed to 1/2000s. For a perched owl in low light, try 1/250s with a tripod to avoid camera shake.
ISO
ISO measures your camera’s sensitivity to light. A lower ISO (e.g., 100) is less sensitive and produces cleaner images, while a higher ISO (e.g., 1600) is more sensitive, useful in low light but may introduce noise (graininess).
How it affects your photos:
Brightness: Higher ISO brightens your image without changing aperture or shutter speed, ideal for dim conditions.
Noise: Higher ISO can degrade image quality, so modern cameras with good high-ISO performance (e.g., Canon EOS R5, Sony A1) are preferred for wildlife.
Wildlife Tip: Keep ISO as low as possible (100-400) in bright conditions, like midday in open fields. In low light, such as a forest at dawn, increase ISO (800-3200) to maintain fast shutter speeds for moving animals. Test your camera’s ISO limits to know how high you can go before noise becomes distracting.
Example: Photographing a bear at sunrise might require an ISO of 1600 to achieve a fast shutter speed (1/500s) and a wide aperture (f/5.6) in dim light, ensuring a sharp, well-exposed image.
How These Settings Work Together
Aperture, shutter speed, and ISO form the exposure triangle, determining how bright or dark your photo is. For wildlife photography, you often prioritize one setting based on the situation:
Fast-moving animals: Prioritize shutter speed (e.g., 1/1000s), adjust aperture for light, and increase ISO if needed.
Low-light conditions: Use a wide aperture (e.g., f/4), a moderate shutter speed (e.g., 1/250s), and a higher ISO (e.g., 800).
Creative control: Choose aperture for depth of field, then balance shutter speed and ISO for proper exposure.
Wildlife Example: To photograph a flock of flamingos taking off at sunrise, set your camera to Shutter Priority with 1/1000s to freeze their motion. The camera might select f/5.6, and you can set ISO to Auto to adapt to the low light, ensuring a sharp, vibrant shot.
Practical Tips for Beginners
Start Simple: Use Aperture Priority to focus on depth of field while the camera handles shutter speed. As you gain confidence, try Shutter Priority for action shots or Manual for full control.
Practice in Your Backyard: Test settings on local birds or squirrels to understand how aperture, shutter speed, and ISO interact before heading to a wildlife reserve.
Check Your Histogram: After taking a photo, review the histogram on your camera to ensure proper exposure (not too dark or too bright).
Use Burst Mode: For unpredictable wildlife, shoot in burst mode to capture multiple frames per second, increasing your chances of getting the perfect moment.
Recommended Camera Settings for Wildlife Photography
Proper camera settings ensure sharp, well-exposed images. Here are the key settings to consider:
Setting | Recommendation | Details |
Mode | Aperture Priority or Shutter Priority | Allows control over aperture or shutter speed while the camera adjusts the other. |
Aperture | f/2.8 to f/5.6 (ideal), f/5.6-f/7.1 (common) | Wide apertures let in more light and create a shallow depth of field, but ensure the subject remains sharp. |
Shutter Speed | 1/250s (minimum), 1/500s-1/2000s (action) | Fast speeds freeze motion, especially for fast-moving animals like birds. |
ISO | As low as possible, up to 1600+ if needed | Higher ISOs help in low light but may introduce noise; modern cameras handle high ISOs well. |
Autofocus | Continuous (AI Servo/AF-C) | Tracks moving subjects effectively, paired with camera tracking features. |
Tips: Adjust ISO to maintain desired shutter speed in low light. Use burst mode for action shots to capture multiple frames and increase your chances of getting the perfect moment.
Composition Techniques
Composition can elevate your photos from ordinary to extraordinary. Here are some expert tips:
Rule of Thirds: Place the subject off-center to create a dynamic image. Ensure the animal’s eyes are sharp, especially for birds, to convey life and emotion.
Eye Contact: Aim for the animal’s eyes to be in focus and, if possible, looking toward the camera for a stronger connection.
Shoot Wide or Close-Up: Use wide-angle lenses to show the animal’s environment or get close for abstract, detailed shots (e.g., a buffalo’s ear).
Include Multiple Subjects: Capture interactions like fighting or mating to add narrative to your photos.
Get Low: Shoot at the animal’s eye level for intimacy and a natural perspective, even if it means lying on the ground.
Mastering Lighting in Wildlife Photography
Lighting plays a critical role in the mood and quality of your photos. Here’s how to use it effectively:
Lighting Type | Best Use | Details |
Golden Hours | Soft, warm light | Shoot 1-2 hours after sunrise or before sunset for flattering light. |
Midday Light | Avoid if possible | Harsh light creates strong shadows; overcast midday can work with diffused light. |
Frontlight | Detailed portraits | Sun behind you for even illumination and minimal shadows. |
Sidelight | Texture and depth | Light from the side creates a 3D effect, best during golden hours. |
Backlighting | Artistic effects | Creates rim light or silhouettes; underexpose for dramatic results. |
Cloudy Days | Diffused light | Increase ISO (up to 1600+) for action shots in softer light. |
Creative Tip: In low light, use slower shutter speeds (e.g., 1/30s) and pan with moving animals for a sharp subject against a blurred background.
Post-Processing Your Wildlife Photos
Post-processing refines your images to reflect what you saw in the field. Key considerations include:
Software: Use Adobe Lightroom, Photoshop, Capture One, or free options like GIMP for editing.
Adjustments:
Exposure and Contrast: Adjust to enhance details and bring out the subject’s natural beauty.
Color Balance: Enhance vibrant colors without over-saturating to maintain a natural look.
Sharpening and Noise Reduction: Sharpen details and reduce noise from high ISO settings.
Cropping: Improve composition by removing distractions or focusing on the subject.
Creative Edits: Experiment with black-and-white conversions or artistic blur for unique effects, but avoid over-processing to keep images authentic.
Workflow: Set up an efficient workflow to manage thousands of images, using tools like Photo Mechanic for culling and Lightroom for editing.
Ethical Considerations
Always prioritize the well-being of wildlife. Maintain a safe distance, avoid disturbing animals, and follow local guidelines. Ethical photography ensures the safety of both the photographer and the animals, preserving their natural behavior for future generations.
Conclusion
Wildlife photography is a blend of art, science, and patience. By planning carefully, investing in the right equipment, mastering camera settings, composing thoughtfully, leveraging natural light, and refining your images through post-processing, you can capture breathtaking photos that showcase the beauty of the natural world. Practice regularly, stay patient, and always respect the animals and their habitats. With dedication, your wildlife photography skills will grow, allowing you to create images that inspire and educate others about the wonders of nature.
Recommended Lenses
Super-Telephoto Zoom
Super-Telephoto Prime
Short-Telephoto
Wide-Angle
Teleconverter


